Houseplant of the Week - 2/11/20

Dieffenbachia_B_w.jpg

Dieffenbachia

       Dieffenbachia is a herbaceous, tropical plant with a straight stem and simple and alternate leaves that contain white spots and flecks, making it attractive as indoor foliage. Species in this genus are popular as houseplants because of their tolerance of shade. If the leaves are chewed or eaten it can cause temporary swelling of the tongue and throat, leading to a temporary loss of speech - hence the plant's common name of dumb cane. This is caused by the effect of raphides (needle shaped crystals of calcium) in the leaves of the plant. While it is usually not serious, it can cause suffocation. Avoid placing this plant where children or pets might be tempted to taste it.

       Most dieffenbachia varieties do best in a filtered light situation, where bright to moderate light shines through a sheer curtain or other filtering window cover. Filtered light is particularly important in the spring and summer, when the dieffenbachia houseplant is producing new, tender leaves that are subject to sunburn. Rotate the plant regularly to provide adequate light to all sides of the plant and prevent it from reaching toward the light on one side. Most cultivars do fine in a low light environment; growth may be slower or stop, but the plant will remain healthy and attractive.

       Overwatering is a common problem with many houseplants, and the dieffenbachia plant is no exception. Plant the dumb cane in a well-draining soil and water lightly, keeping the soil consistently moist, but not soggy. Check the soil to make sure it is dry an inch down before watering. Fertilize twice a month to encourage growth and health. A houseplant food high in nitrogen can be applied at half strength.

       Browning bottom leaves on the dieffenbachia is normal for the plant; Snip them off to keep the plant tidy. If other leaves appear bleached, with a webby substance on the underside, check and treat the plant for spider mites with insecticidal soap spray or neem oil.


- - - - - - - - - - - - - - - - - - - - - - - - - - - - - - - - - - - - - - - - - - - - - - - - - - - - - - - - -
Plant of the Week Special:

 20% OFF
Dieffenbachia Plants

Good through 2/18/20. Not good with any other sale, coupon or discount or on previous purchases. Print this coupon or mention offer at the checkout counter.
Code: 004

- - - - - - - - - - - - - - - - - - - - - - - - - - - - - - - - - - - - - - - - - - - - - - - - - - - - - - - - -

Bird of the Week - 2/11/20

Bird_black_capped_chickadee_w.jpg

Black-Capped and Carolina Chickadee

Basics: These two birds are extremely similar in looks, but across most of eastern North America, chickadee identification is simple. Carolina Chickadee occurs in the south and Black-capped in the north. The black capped tends to have a brighter and more contrasting overall appearance. The Black-capped Chickadee is the chickadee you will most likely see here.

Housing: Consider putting up a nest box to attract a breeding pair. A wren house will work for chickadees. Place the house from 8 to 10 feet high into a wooded area well before breeding season. Attach a guard to keep predators from raiding eggs and young. Black-capped Chickadees are especially attracted to a box when it is filled with sawdust or wood shavings. They also prefer an unobstructed path to the entrance hole, without branches and leaves in the way.

Food: Offer suet, peanuts, peanut butter, black oil sunflower seeds and bread product kitchen scraps.

How to Attract: Provide food, water, and shelter. Keep cats and other pets indoors. Provide suitable perches near feeders so Chickadees can flit away to a safe spot to eat each seed.

Facts: Individual birds CAN become tame enough to hand feed. Black capped Chickadees are monogamous birds.

Tip:  Plant trees and shrubs of different sizes in mixed clumps to provide better foraging areas.


- - - - - - - - - - - - - - - - - - - - - - - - - - - - - - - - - - - - - - - - - - - - - - - - - - - - - - - - - - - - - - -
Bird of the Week Special:

20% OFF
Window Bird Feeders
 

Good through 2/18/20.
Not good with any other sale, coupon or discount or on previous purchases.
Mention offer at the checkout counter.

Code: 004 

- - - - - - - - - - - - - - - - - - - - - - - - - - - - - - - - - - - - - - - - - - - - - - - - - - - - - - - - - - - - - - -
  

Gardening From SEED

SeedlingsInPeatPotsW.png

Gardening from seed has several benefits. There are more varieties available to you, you know what's going into your food and flowers because you are growing them, and you'll save money by purchasing seeds rather than plants. But I caution you, it can get addictive! Starting seeds is simple and very rewarding. It is easy to start more seeds than you will need. I do it every year. I end up giving hundreds of seedlings away to local food groups, friends and neighbors. If this is your first time starting seeds, keep it simple and don't overwhelm yourself with too much to take care of. Think about what you and your family eat the most and start with those seeds. Lettuces and greens are simpler to grow and more immediately gratifying than peppers and tomatoes.

Why, start seeds indoors?

Some varieties are best started indoors because you have more control over the growing conditions. Starting seeds indoors extends your gardening season, allowing you to grow varieties that require longer growing times than your area's natural growing season allows. With perennial flowers, an early start can reap first-year blooms.

Seed_Pack_Back_StartTime_BI.gif

When is the correct time to start my seeds indoors?

Use your average last frost date (April 15 in our area) as a guideline to decide when to sow seed. This is identified as the first day in spring when there is less than a 50% chance a frost will occur. Most seed packets will tell you "Start indoors X weeks before first frost". This is also generally known as your USDA Growing Zone (we are zone 6). Seed packets will also list dates by zone. It's also helpful to know your average first fall frost date (October 15 in our area) so you can determine the number of days in your growing season as well as plan your summer and fall sowings.

How do I start my seeds indoors?

Containers: Almost any container can be used to start seeds including milk or egg cartons, yogurt cups, plastic trays, etc. We offer a Starter Kit that will help you get going and it is reusable. When reusing any container, it should be clean and sanitized, and have holes in the bottom that allow excess water to drain.

Labeling: Don't forget to label as you sow. Garden stakes, craft sticks, or writing directly on containers using paint markers all work well.

Medium: A high-quality seed-starting mix (medium), is loose and lightweight, yet holds moisture while being free from sticks and bark. Avoid potting soil mixes, which can be too heavy for tiny seeds, or soil from your garden that may introduce insects, weeds, or diseases. Thoroughly moisten medium before filling your container. I have had a lot of success with Peat Pellets.

Moisture: Covering your containers with a clear lid or clear plastic wrap helps retain moisture and increase humidity during germination. After your seedlings emerge, remove the cover. Misting using a spray bottle, or bottom watering (adding water to the drainage tray) are great ways to keep growing medium moist without disturbing seeds and young seedlings. Check moisture regularly to prevent seeds and seedlings from drying out or from sitting in standing water.

Light: For best growth, seedlings need at least 14 hours of light per day. Even your sunniest window may not supply enough light to grow strong plants. An efficient and inexpensive option that provides adequate light is a shop light with cool-white fluorescent bulbs or a mix of cool-white and warm-white bulbs placed 1" to 2" above the seedlings. To make it easier, use a timer that is set to turn on and off automatically.

Temperature: Optimal medium temperatures for seeds to germinate can vary. Seed packet sowing instructions indicate if the temperature is specific. Once the seeds germinate, room temperatures of 70°-75° F will help most seedlings grow best. Generally, frost-sensitive plants such as tomatoes, eggplants, and peppers appreciate warmer soil conditions and may benefit from the use of a seedling heat mat when sown indoors.

Circulation: Air circulation around seedlings can help prevent disease problems while strengthening seedlings. A fan on low setting will create adequate airflow. Avoid aiming the fan directly at the soil, as it can cause rapid drying.

Fertilizer: If your seed starting mix does not contain nutrients, add a diluted amount of slow-release, organic (if possible), balanced fertilizer to the medium or use a liquid formula once seedlings have true leaves. "Balanced" fertilizers have equal amounts of nitrogen, phosphorous, and potassium represented respectively as numbers with dashes between (e.g. 20-20-20). Check the label for instructions on diluting the fertilizer, and the recommended frequency and rate to mix for seedlings and transplants. We suggest always using organic fertilizers.

Hardening off: This is the 7 to 10 day process of acclimating plants started indoors to outdoor conditions. This process reduces transplant stress and the chance of sunburn, which both negatively impact overall performance and yield. Start by placing plants in a protected, shady area, progressing to more sun (for sun-loving varieties) over 7 to 10 days. Bring plants in at night if temperatures drop below 45°F. After 7 to 10 days, plants will be ready for transplanting. Before transplanting, consider fertilizing with seaweed or kelp to further reduce transplant stress. Transplant on a calm, cloudy day, in the evening, or use row covers to buffer wind, sun, and temperature swings. Most warm-season plants perform best when transplanted in soils over 45°F.

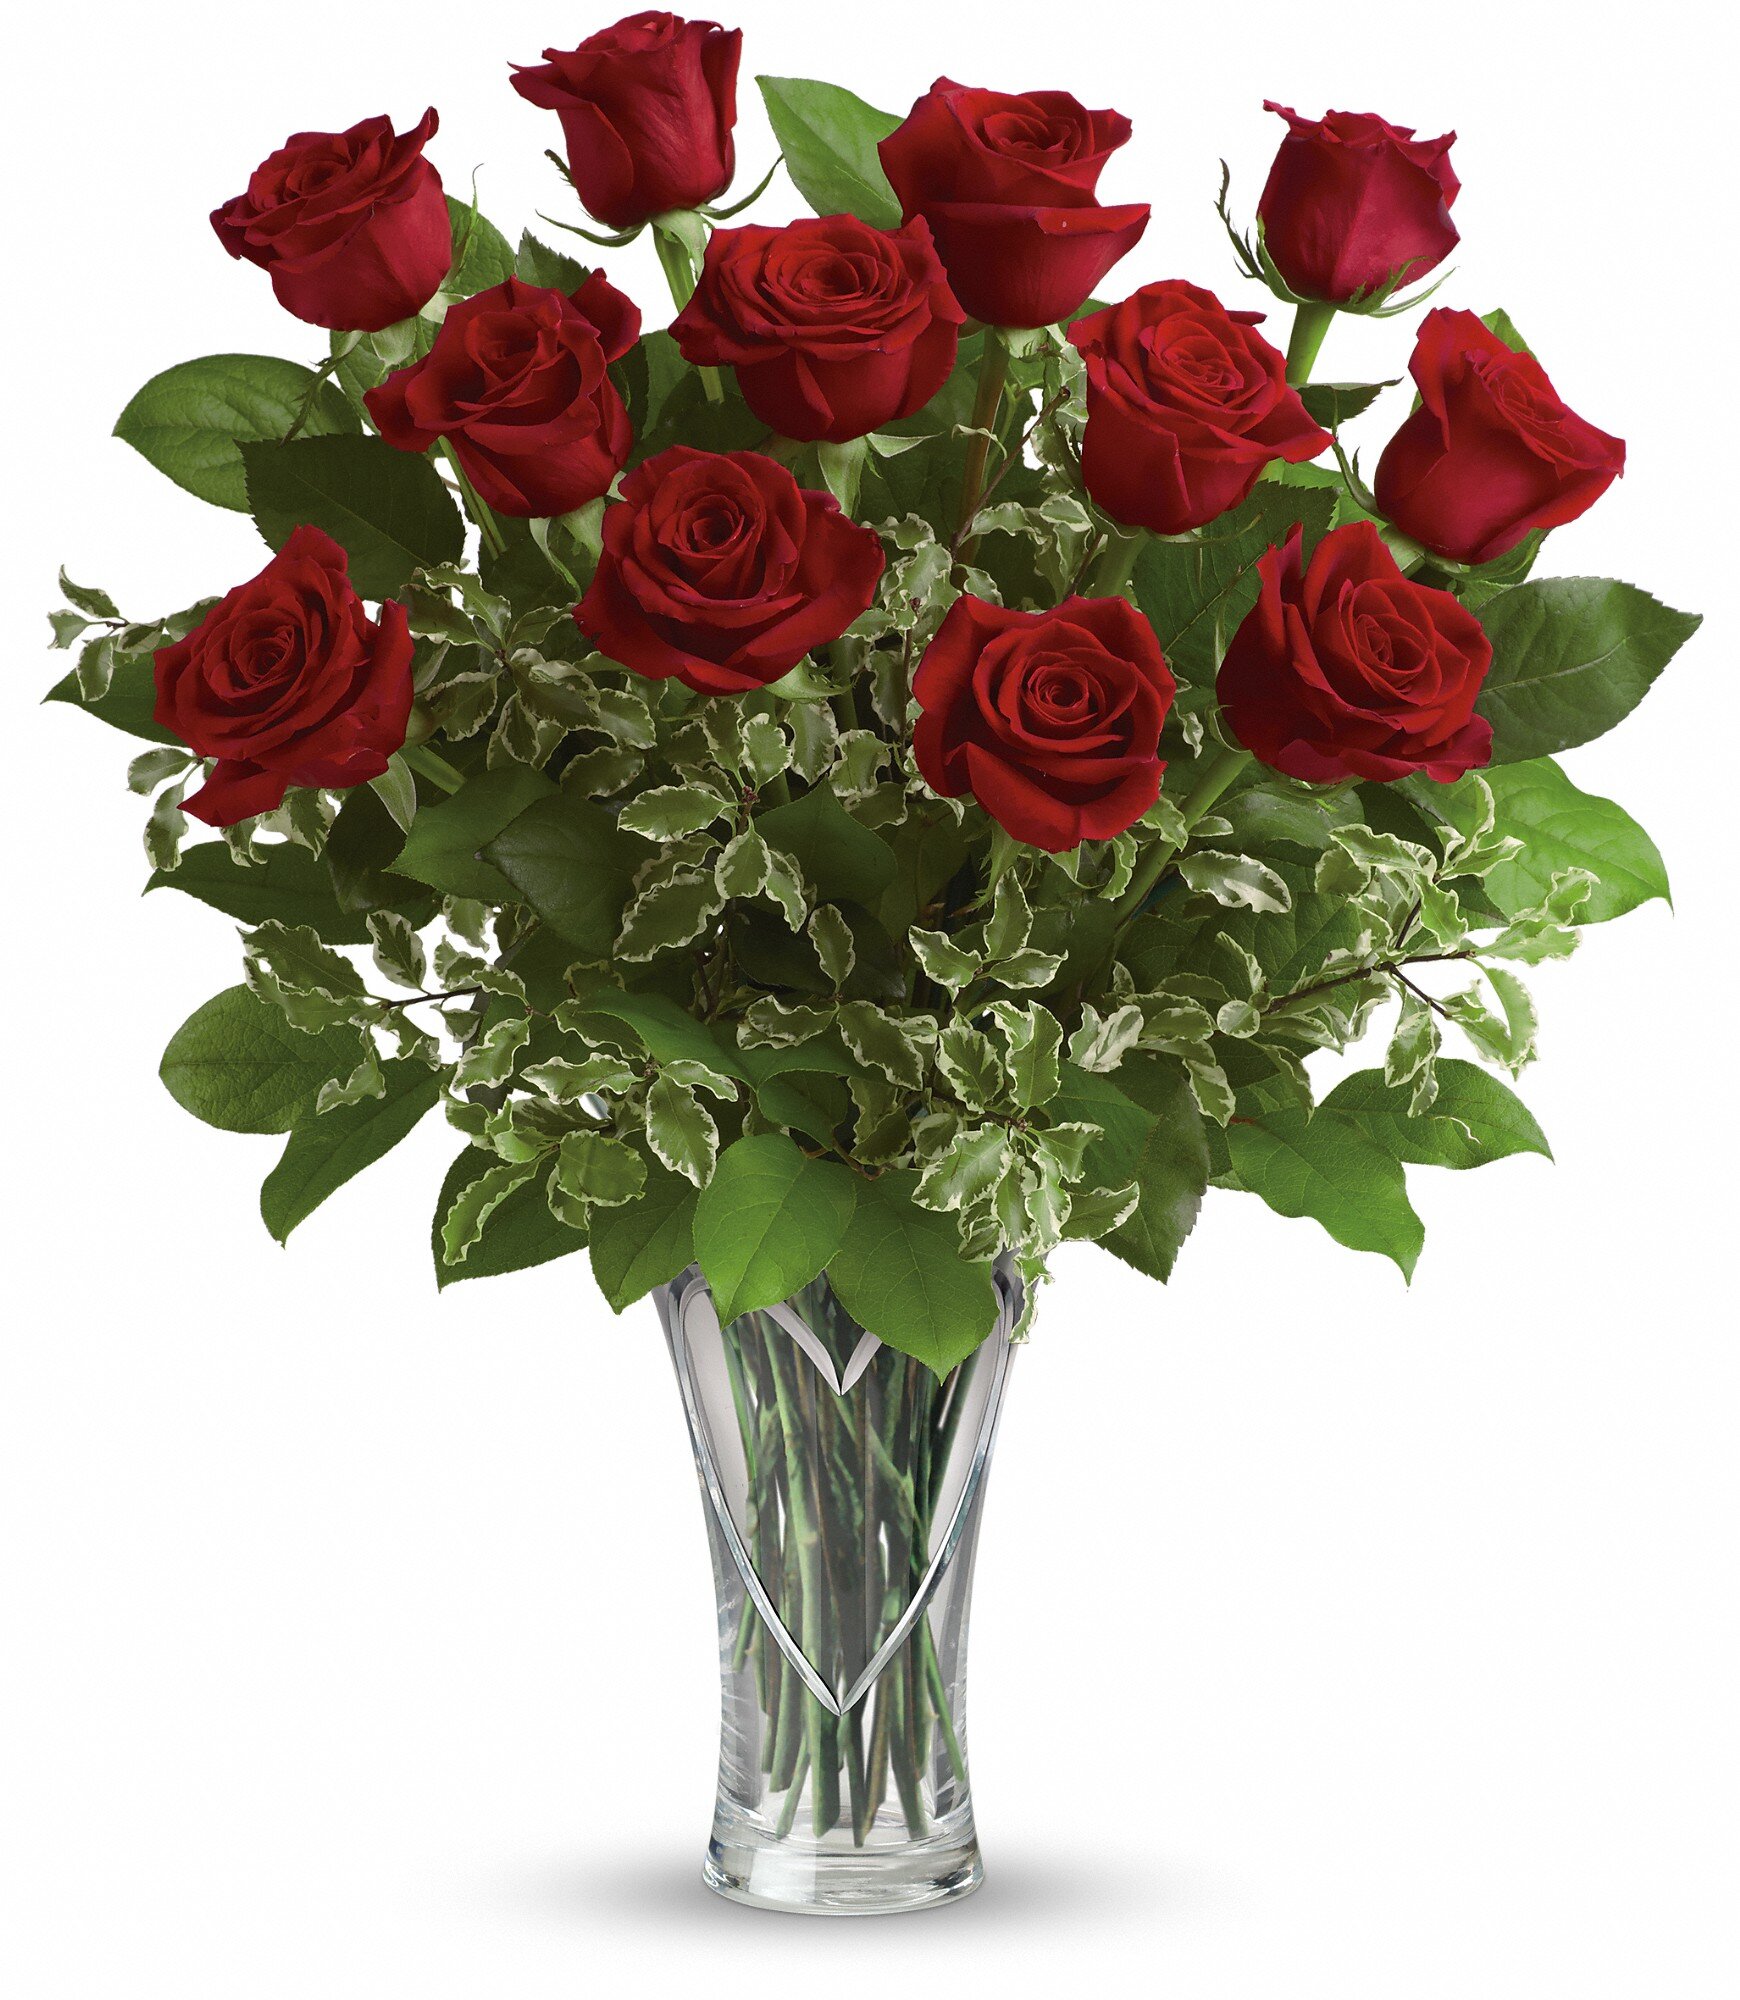
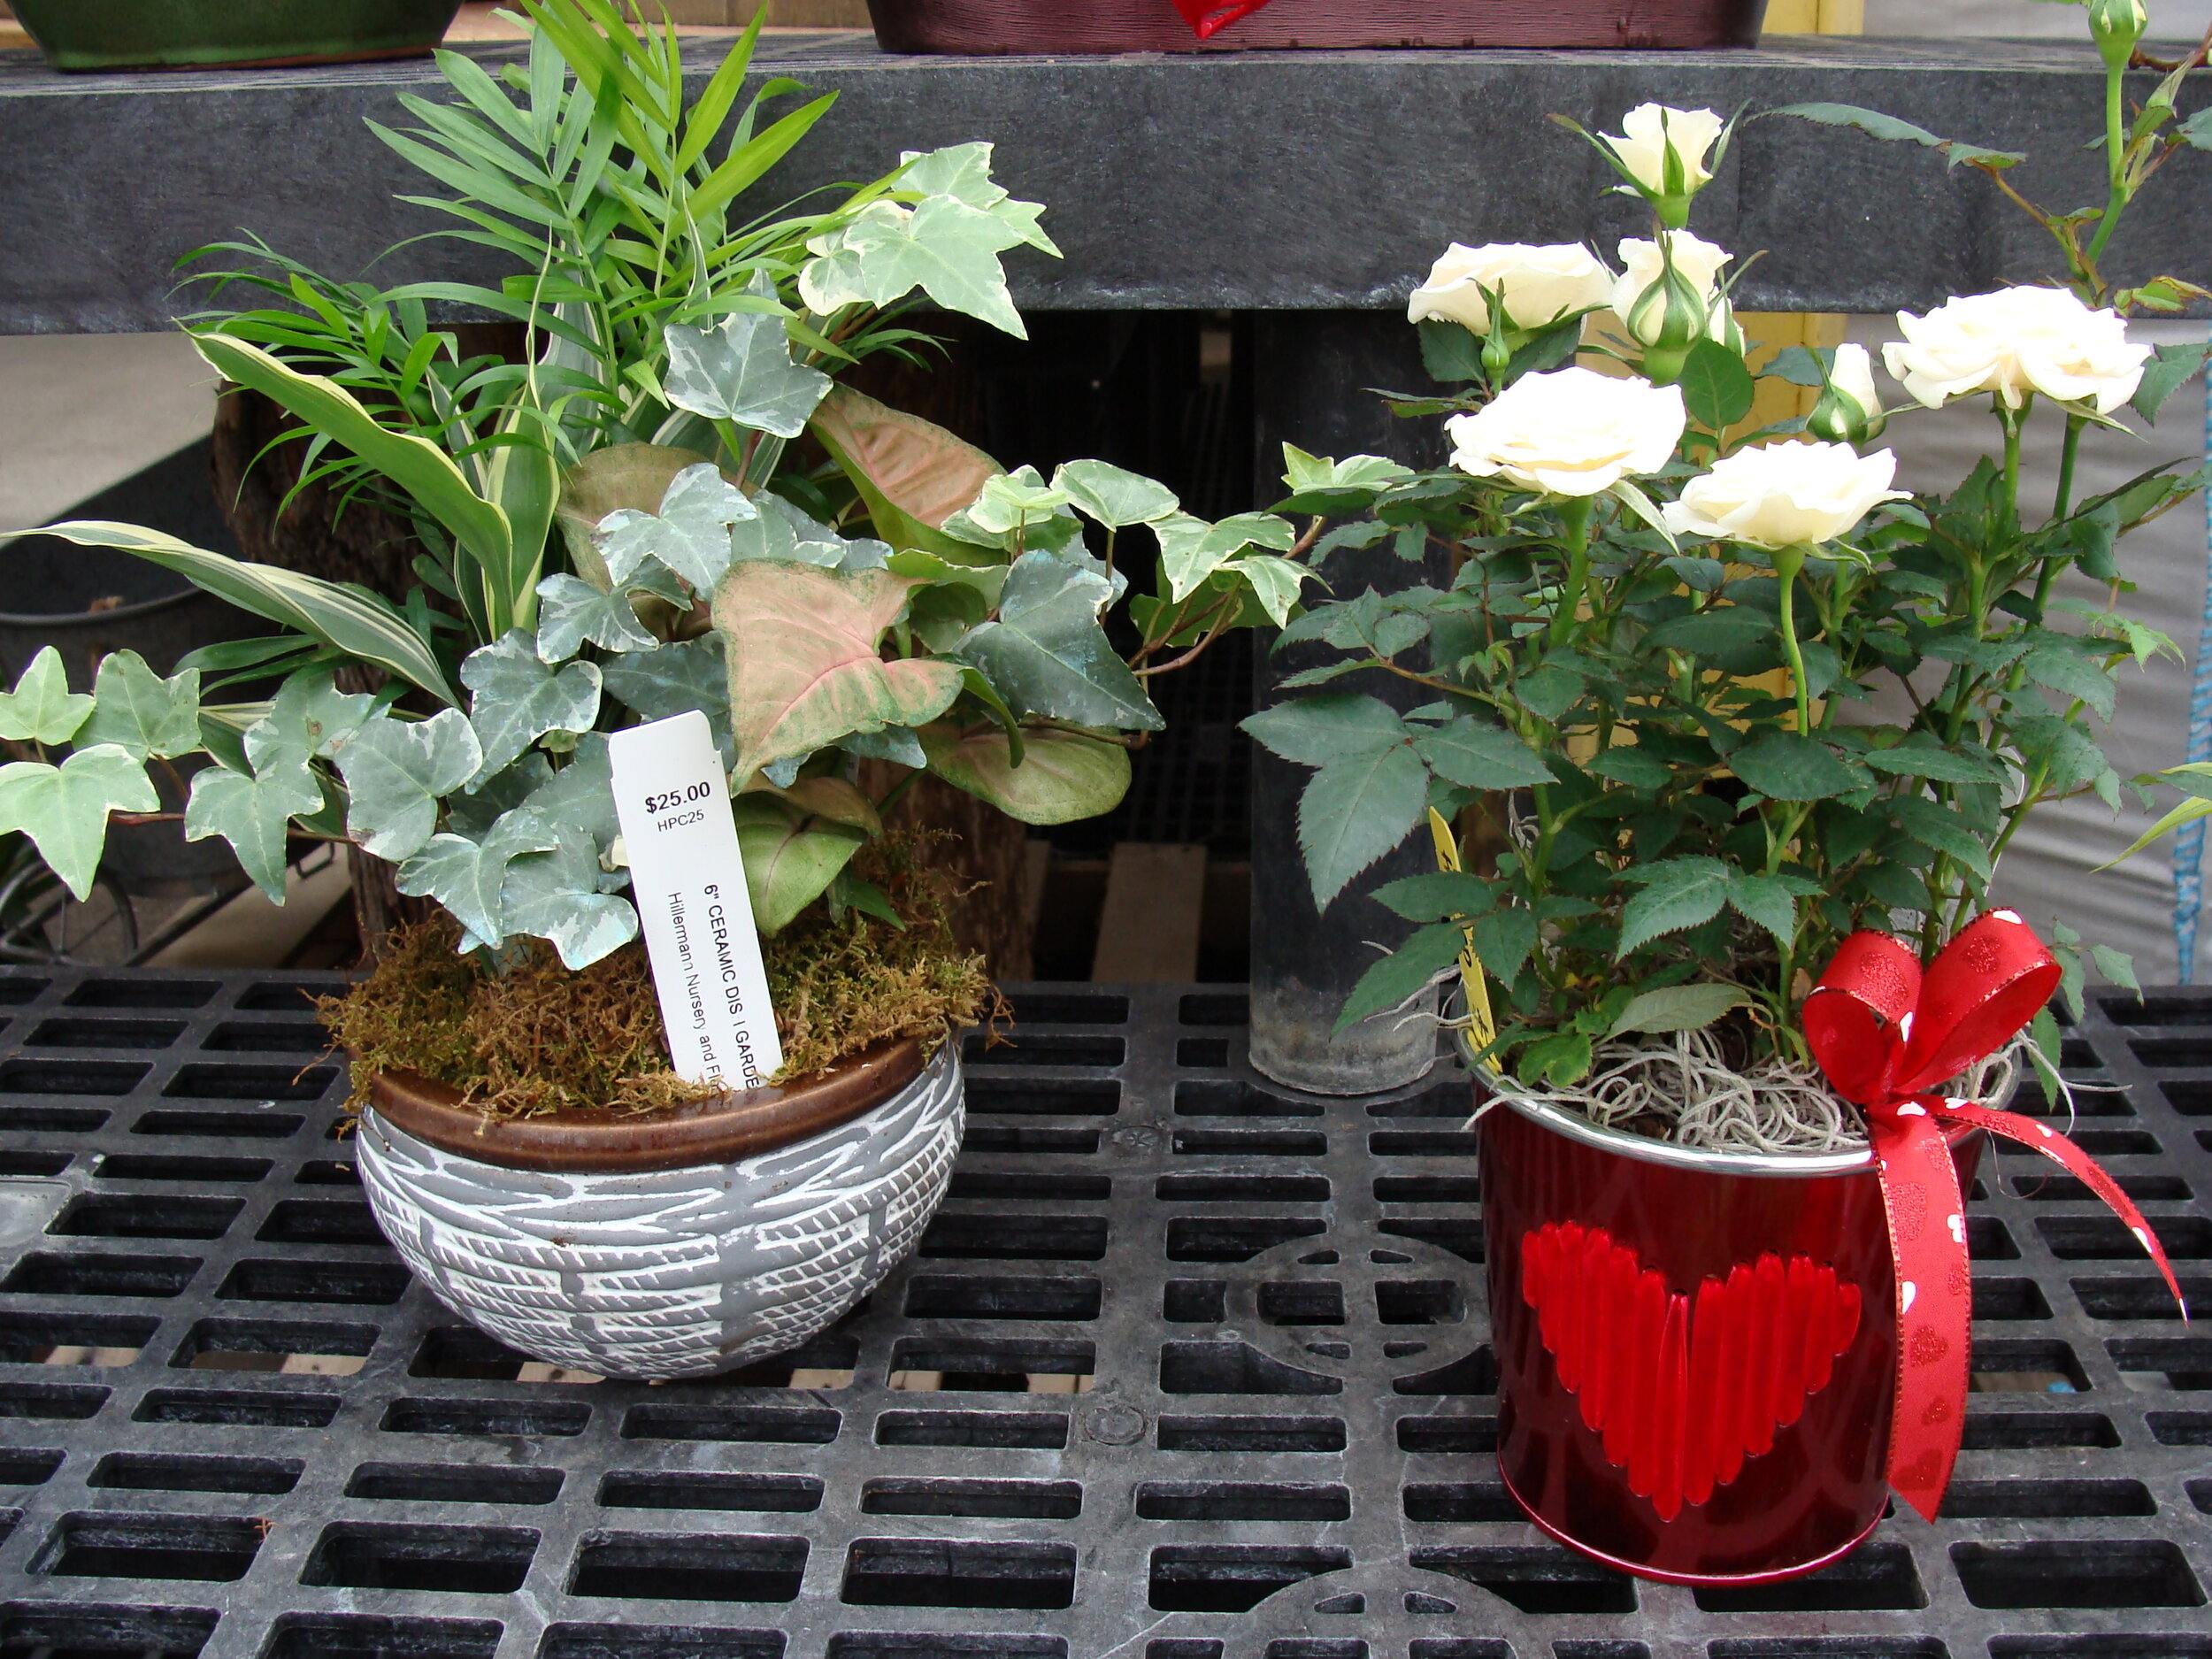
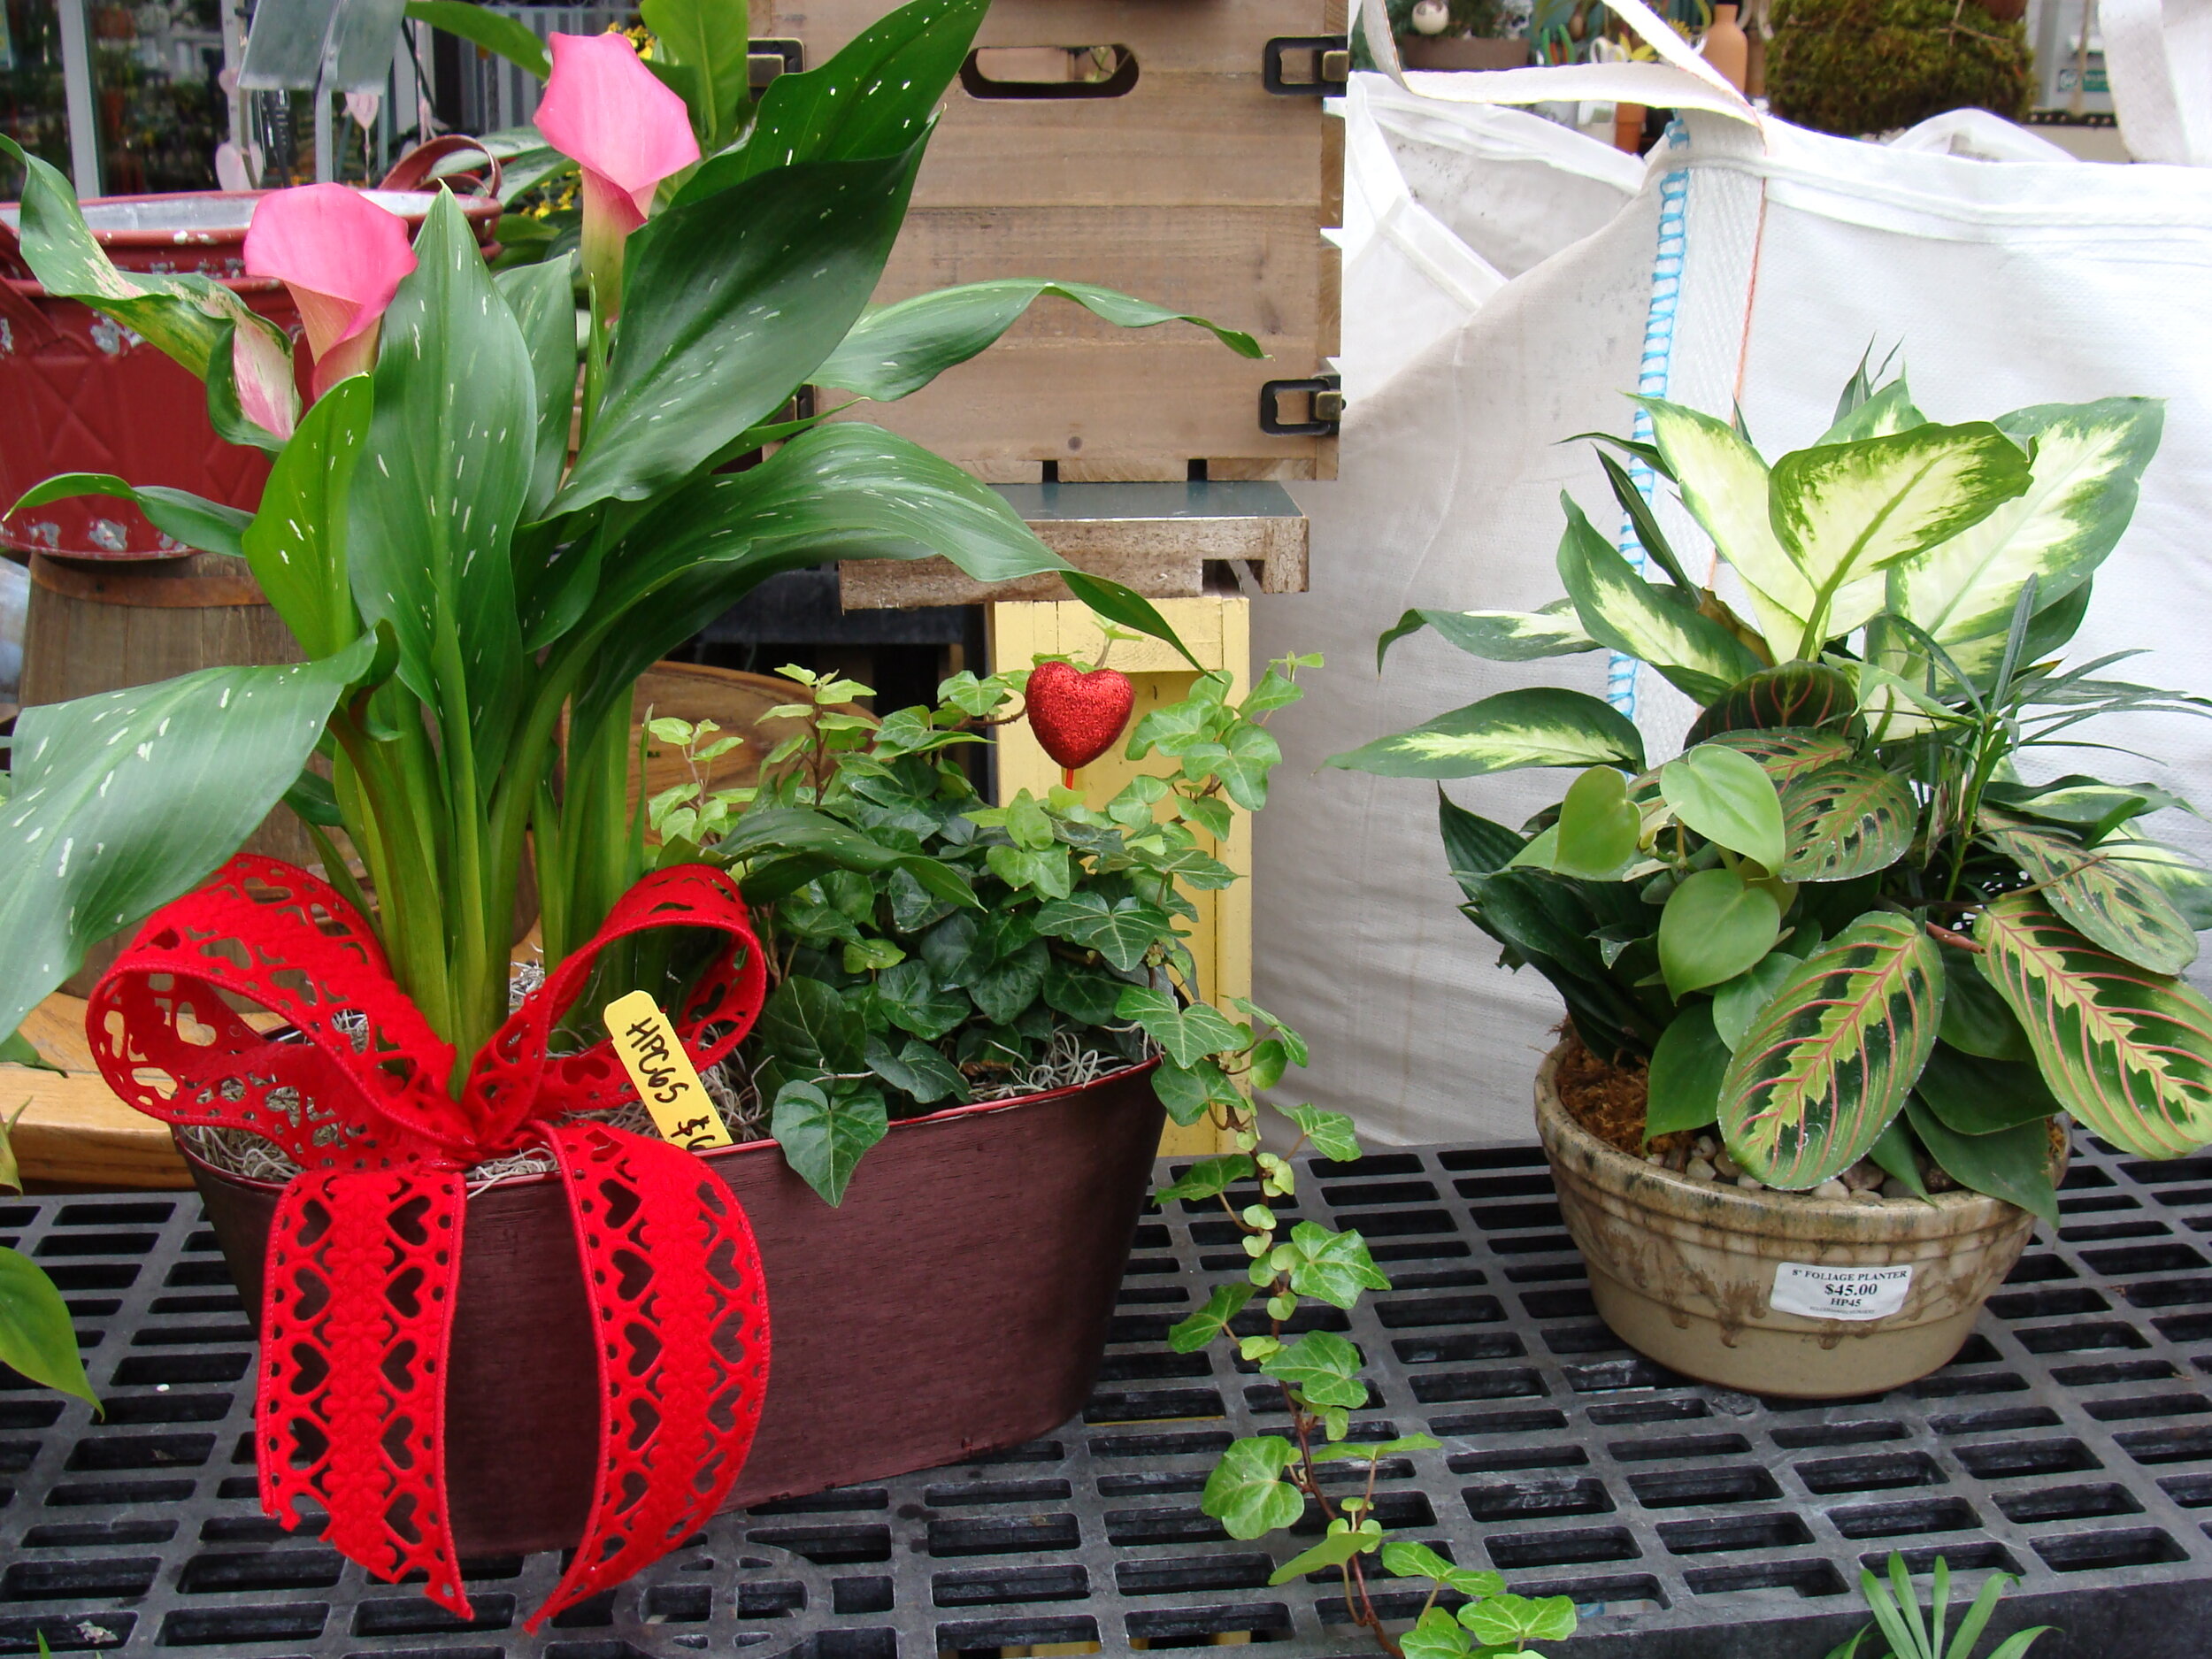
Great Gifts for Valentine's Day!

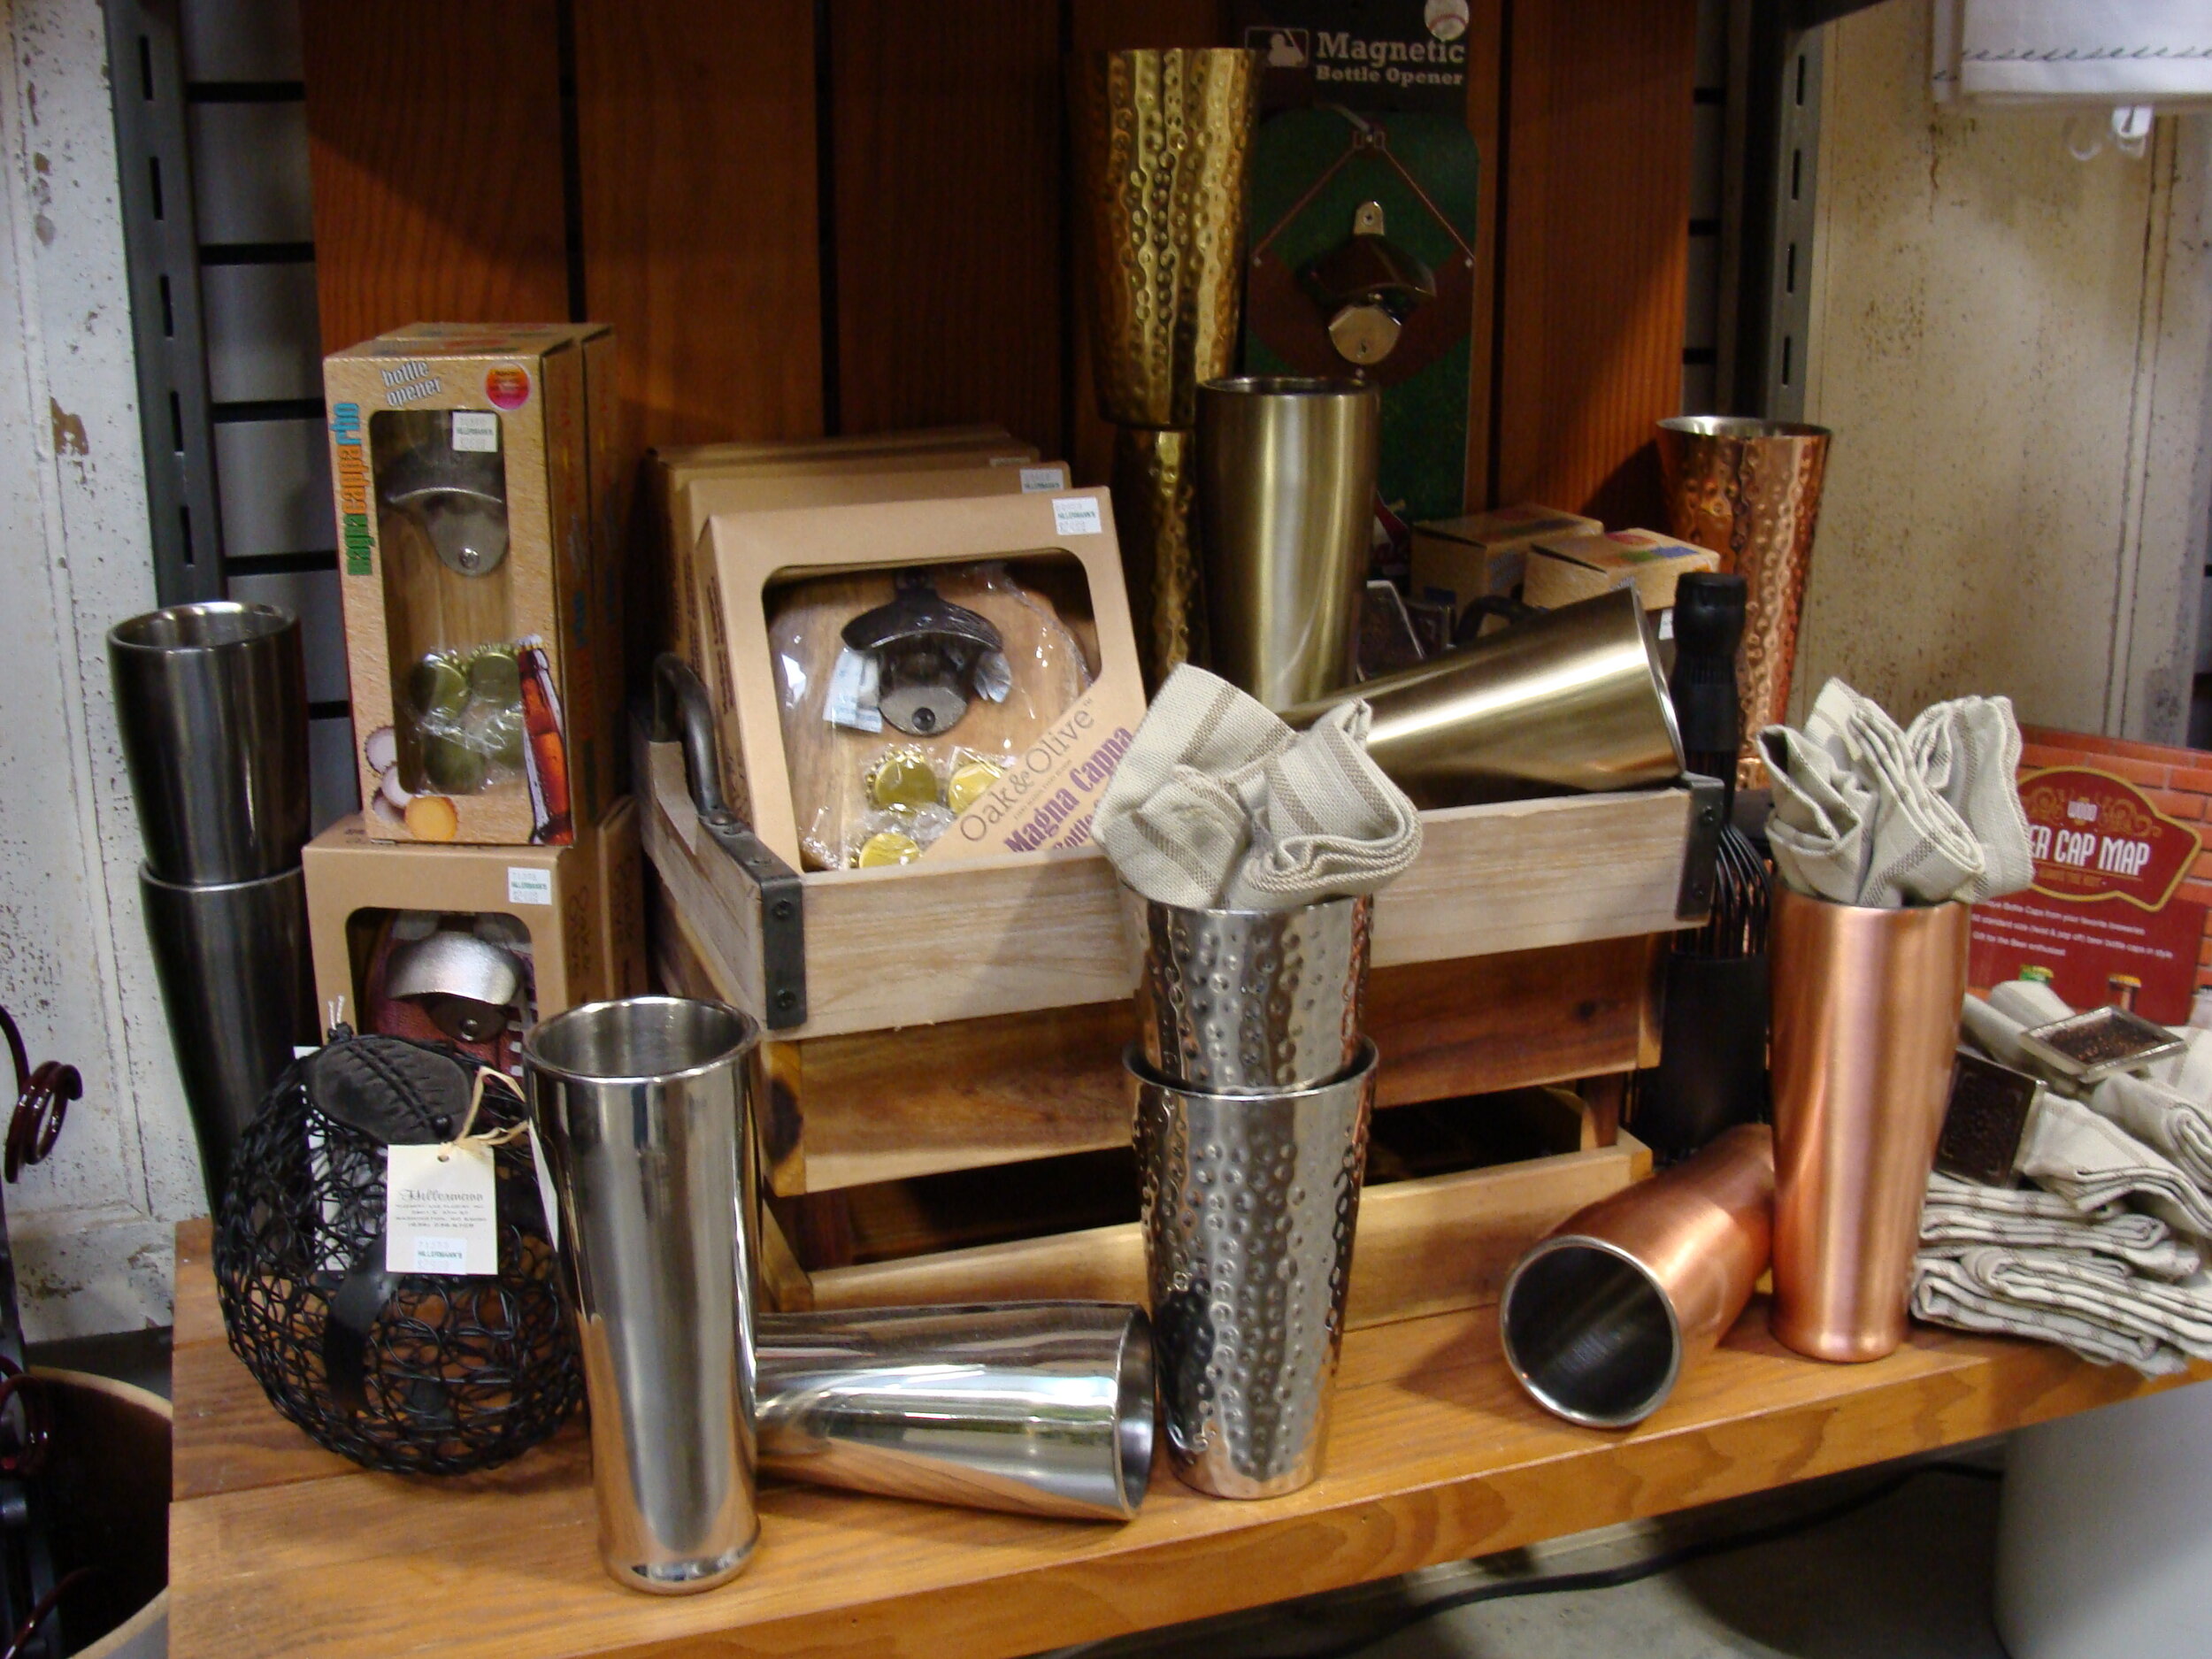
Share your LOVE on Valentine’s Day! Flowers, Plants, Wine and much more! Call us for delivery - or come see what we have in the store! We even have great gifts for the guys! Wine and Beer making supplies, beer growlers, outdoor equipment and more! Come visit us and see!

Houseplant of the Week 2/4/20 - Tillandsia

Tillandsia_Plants_Various_W.jpg

Tillandsia (Air Plants)

       Tillandsia plants are epiphytes and need no soil because water and nutrients are absorbed through the leaves. The roots are used as anchors only. They are sensitive to frost and are used as an indoor plant in our area. Reproduction is by seeds or by offsets called "pups". A single plant could have up to a dozen pups. Tillandsias love bright, indirect sunlight. Some Tillandsia will bloom on a regular basis. In addition, it is quite common for some species to take on a different leaf color (usually changing from green to red) when about to flower. This is an indication that the plant is monocarpic (flowers once before dying) but offsets around the flowering plant will continue to thrive.

       If the air is dry where you are growing Tillandsia, you will need (at minimum) to submerge the plant in water for 2-3 hours about every two weeks. Otherwise, you can use a soaking mist once or twice a week (more often in a hot, dry environment; less often in a cool, humid one). In conditions of extreme drying, and consequent moisture loss, Tillandsia cannot get replacement water from their roots like a terrestrial plant, or draw on internal reserves like a succulent. Do not water with distilled or softened water because of the salt content. Filtered water, tap water that has sat long enough for the chlorine to dissipate, or bottled water is fine. Pond water, aquarium, or rainwater is preferred if possible.

       Tillandsia make great terrarium and mini garden plant choices. They are fun to grow in areas that plants needing soil cannot be grown. They are also a fun plant for children to grow.


- - - - - - - - - - - - - - - - - - - - - - - - - - - - - - - - - - - - - - - - - - - - - - - - - - - - - - - - - - -
20% OFF
Tillandsia Plants

Good through 2/11/20. Not good with any other sale, coupon or discount or on previous purchases. Print this page or mention offer at checkout counter.
Code: 004

- - - - - - - - - - - - - - - - - - - - - - - - - - - - - - - - - - - - - - - - - - - - - - - - - - - - - - - - - - -

Bird of the Week - 2/4/20

Bird_Downy_Woodpecker_Branch_w.jpg

Downy Woodpecker

Basics: This bird can be identified by its white back, black nape, and black wings with white spotting. Another amusement on this species is its quick moves up and down the tree trunks.

Housing: Mount your wooden birdhouse to the trunks of mature trees. There should be about a 1¼" inch hole for your woodpeckers to enter/exit.

Food: You can get pretty close to these birds as they feed, due to their being quite brave. Add a Suet feeder, and Suet to get a close up view of these beauties feeding near your home! Suet is a great food source for all woodpecker species in our area.

How to attract: Downy Woodpeckers are attracted to places where food is abundant.

Fact: This is the smallest Woodpecker in North America.

Tip: Downy woodpeckers look very similar to hairy woodpeckers. However, remember that when distinguishing between the two, downy woodpeckers are smaller, with smaller bills.


- - - - - - - - - - - - - - - - - - - - - - - - - - - - - - - - - - - - - - - - - - - - - - - - - - - - - - - - - - - - - - -
Bird of the Week Special:

 High Energy Suit

Regular $1.19, SKU: 00501

Sale: 79¢

Good through 2/11/20. Not good with any other sale, coupon or discount or on previous purchases.
Print this page or mention offer at the checkout counter.

Code: 004

- - - - - - - - - - - - - - - - - - - - - - - - - - - - - - - - - - - - - - - - - - - - - - - - - - - - - - - - - - - - - - -